Are you a DIYer? Do you enjoy getting your hands dirty and reaping the benefits of some hard work? You might be looking at your yard and thinking of ways to improve upon it during your spare time.
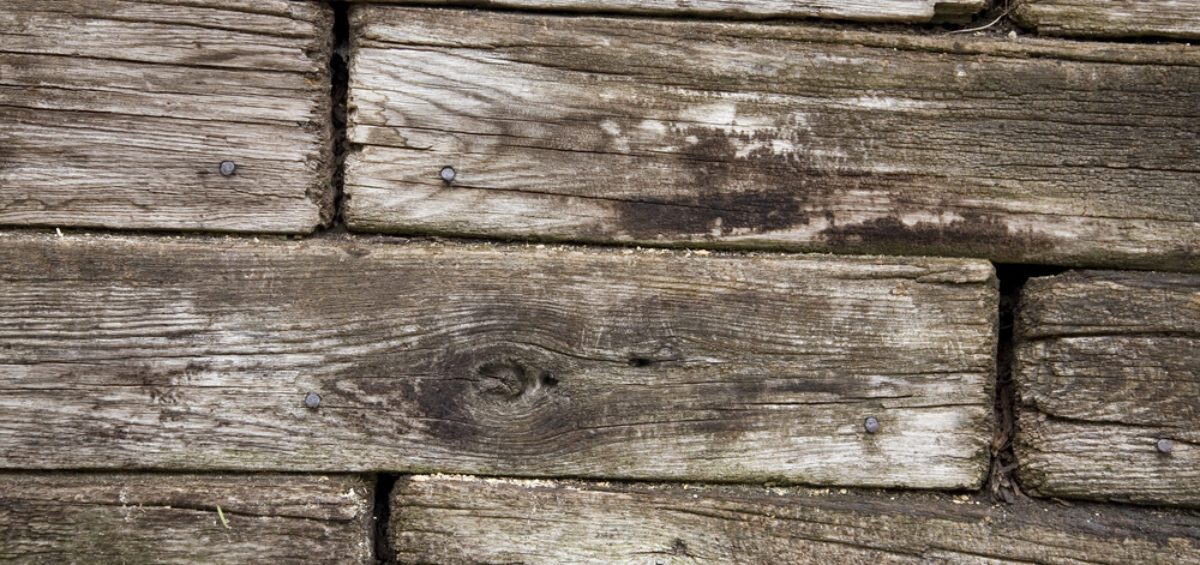
One simple yet effective DIY project is to build a timber retaining wall. A retaining wall is used to hold or retain soil behind it, which is helpful if you have a slope and want to prevent soil or other materials from sliding away.
This “How To” guide is here for any DIYers, builders, engineers and others who are passionate about building projects and looking for building supplies in Auckland. Woodmart has the products and services that you need for all of your retaining timber materials projects in Auckland.
What You Need to know about Retaining Timber Wall
Woodmart, premier timber merchant specialise in supplying wide range of efficient Timber Retaining Materials in Auckland. In terms of Retaining materials, here’s what you’ll need:
- Retaining timber, like treated sleepers or 150×50, 200×50 H4 Rough Sawn
- Bags of cement
- Galvanised nails
- Drainage gravel
- Drain Flow
Here’s some of the tools you should have if you planning to build a timber retaining wall:
- Circular saw
- Sledgehammer
- Club hammer
- Wheelbarrow
- String line
- Tape measure
- Angle grinder
- Square
- Spirit level
- Marking paint
Steps for how to build a retaining wall
There are various different ways that you can choose and that are used by a confident DIYer and the materials you use including timber, logs and posts to add style to your yard.
Step 1 – Measurements
Use a string line to determine where you’ll build the wall and then mark your post spacing according to timber length. Your posts should be spaced at 1.2m intervals for 2.4 m long sleepers, or 1.5m apart for 3m sleepers.
Step 2 – Posts
Cut your posts to length (for example, 1200mm for a 600mm high wall). You want to cut the tops of the posts with a slight slope so that they shed water. Once you’ve cut them, seal the ends with timber preservative.
Step 3 – Concrete
Put the end posts into the holes, leaning about 5 degrees toward the bank, and fill them with concrete up till the ground. Let the concrete set, and tie a string between the posts in order to align the other posts
Step 4 – Drilling
Place a timber sleeper horizontally and mark where the upright posts are. Remove it, and then drill a slightly undersized hole in the horizontal timber where it meets the upright post. Replace the horizontal timber, making sure to line up the hole behind the posts and the timber is level.
Step 5 – Create Height
Stack additional sleepers or Timber on top until you reach the desired height. Make sure to place them behind the posts and secure with nails/spikes as you go.
Step 6 – Drainage
Once you have a second layer of timber laid down, lay a slotted drain Flow for drainage behind it, then surround the pipe with scoria.
Step 7 – Completion
Back fill behind the wall with scoria. Wash your hands and admire the hard work you’ve put in.
Do you know how high you like your walls? Do you have a driveway, or a steeply sloping bank?
Before you get started to build timber retaining walls in New Zealand, think first about building consents. In New Zealand retaining walls over 1.5 meters high or walls carrying extra loading on top require a building consent from the Local Body Council.
For any other DIY advice – Woodmart your one stop wood choice!
If you looking for any tools to complete all of your timber projects and what to know the best timber for decking timber, fencing timber, pergola or retaining timber in Auckland, New Zealand get in touch with Woodmart. Request a free online quote now!


